What is Hugelkultur?
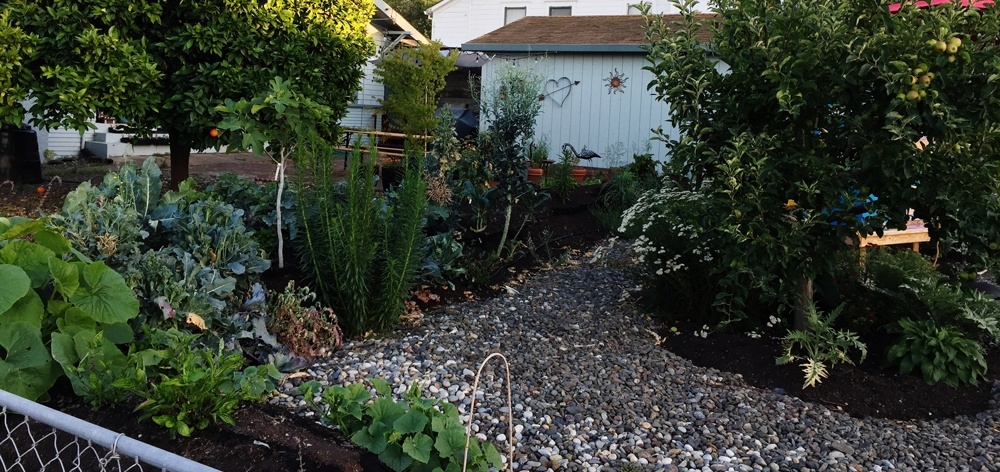
Hugelkultur — sounds like hoo-gull, loosely translated as “hill culture” from German — is an integrated model for a garden because it works at any scale to create solutions. You can design a hugelkultur raised garden bed equally well into a small backyard space or something more expansive.
Benefits
The advantage of a hugelkultur bed is many-fold. It provides a more three dimensional canvas for growing food, so you’re able to take advantage of both horizontal and vertical space. And, because it’s built on a foundation of logs, twigs, and organic matter (detailed below), it helps retain water and build organic matter back into the soil as the foundation decomposes.
Step 1: Plan and Design Your Hugelkultur Raised Garden Bed Project
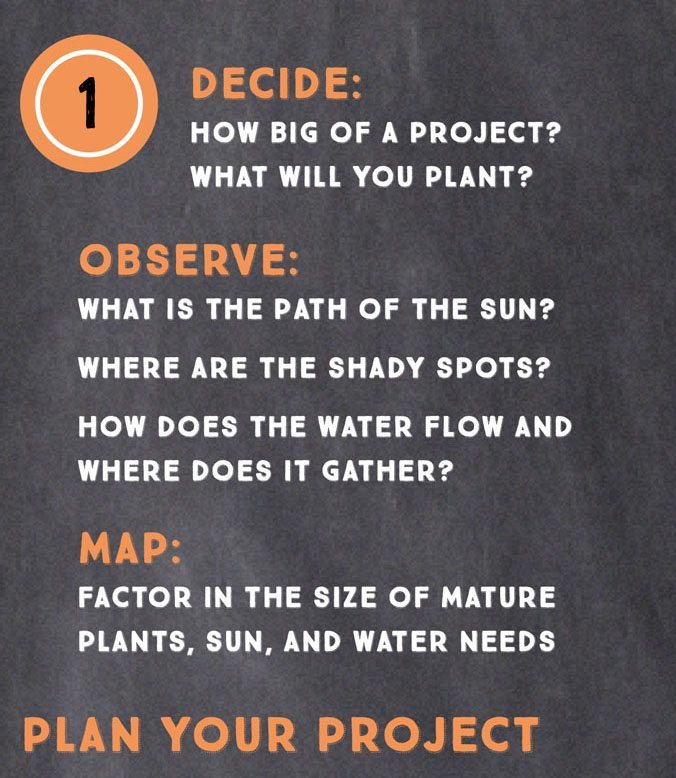
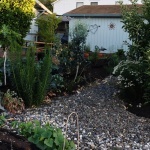
First things, first. You’ll want to define the amount of growing space you want to take on and space map where the hugelkultur will go. Is it 100 square feet or something more ambitious? You’ll want to prep the space. For our homestead, we literally moved more than 800 sq feet of landscaping rock. 🙂
It’s a good practice to sketch your space plan and get to know the landscape of your hugelkultur project. What is the path that the sun follows in the sky relative to your space? Where are the slopes and contours where water might travel and collect? How can you create a hugelkultur shape that slows, sinks, and spreads water during the wet months?
You’ll also want to game plan your plantings, factoring in size of the mature plants, companion plantings, sun and water requirements, etc.
Step 2: Gather Woody Bits
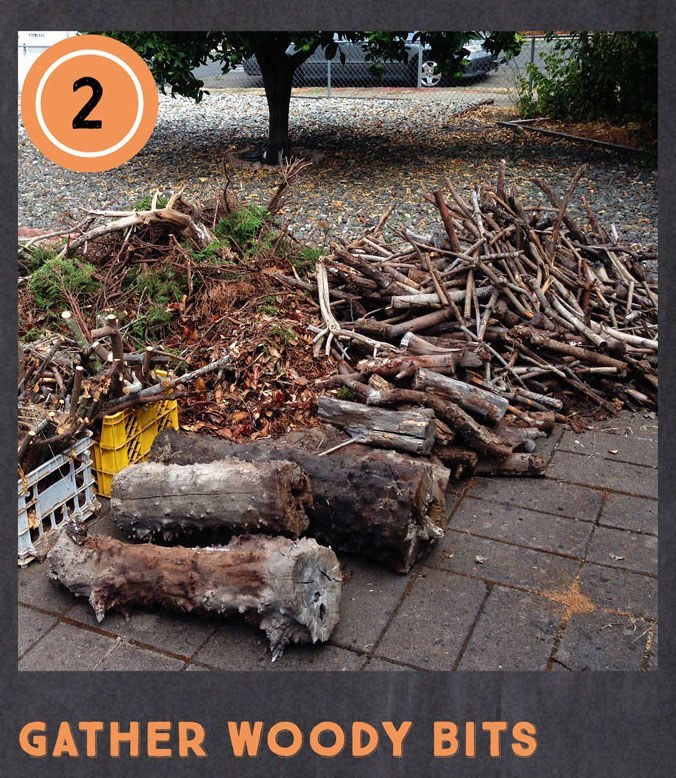 Logs, branches, and twigs are the core foundation of a hugelkultur bed. Rural neighbors and farmers are a great source of free logs and other woody bits. Keep an eye out for other landscape removal projects where you could keep that biomass from going to the landfill. Use the logs and branches to create a shape that works with the contours and slope of your site and will help to capture water instead of letting it run into the street.
Step 3: Prep Your Space
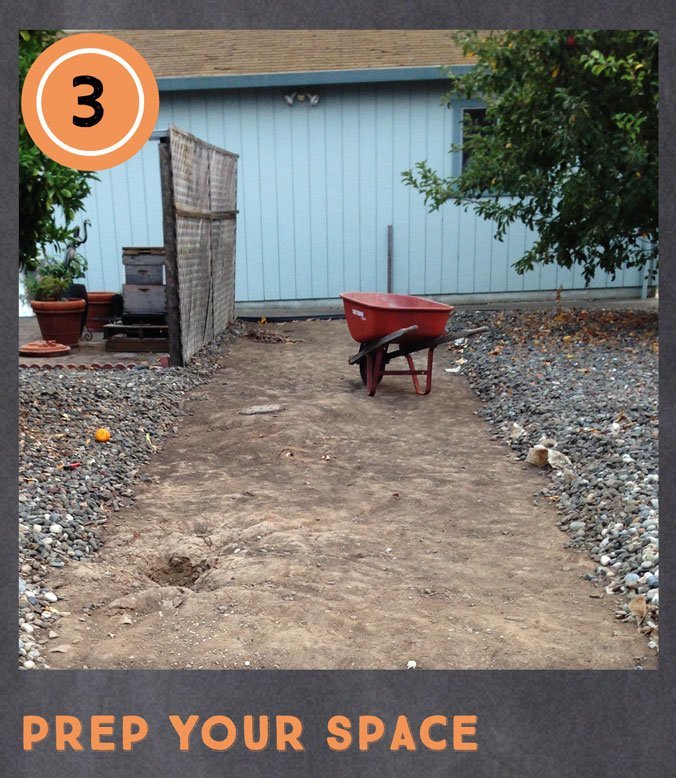 Clear away debris, rocks, large weeds, etc — pretty much everything except grass, small weeds, and earth. You can sheet mulch any existing grass and weeds underneath and around your hugel. Less work is more fun. Let the cardboard do the work.
Step 4: Build the Foundation
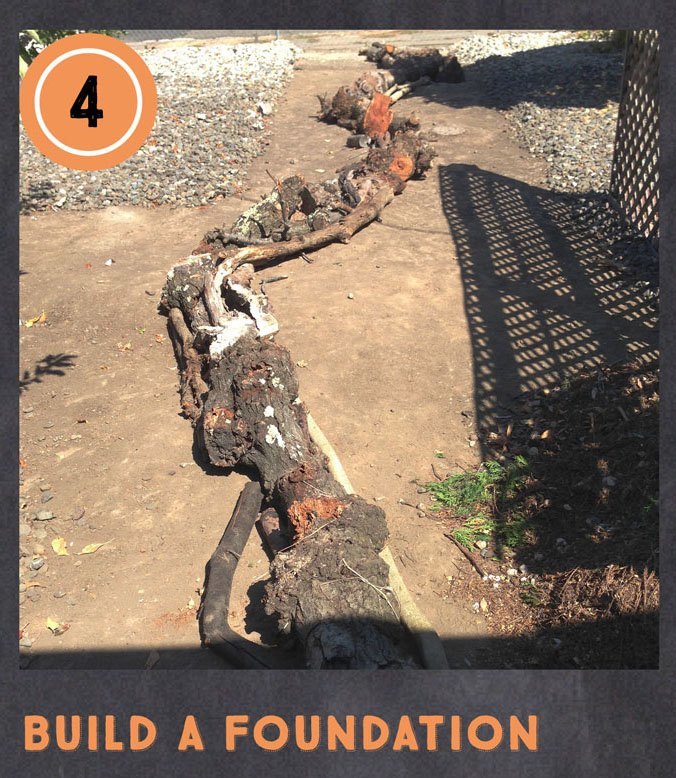 Lay down a spine of large logs, end to end, along the length of your space. Add logs perpendicular to any slopes where rainfall will flow, so you can plan to slow, sink, and spread water. You can see here in our T-Shaped hugel example.
Step 5: Add Cardboard
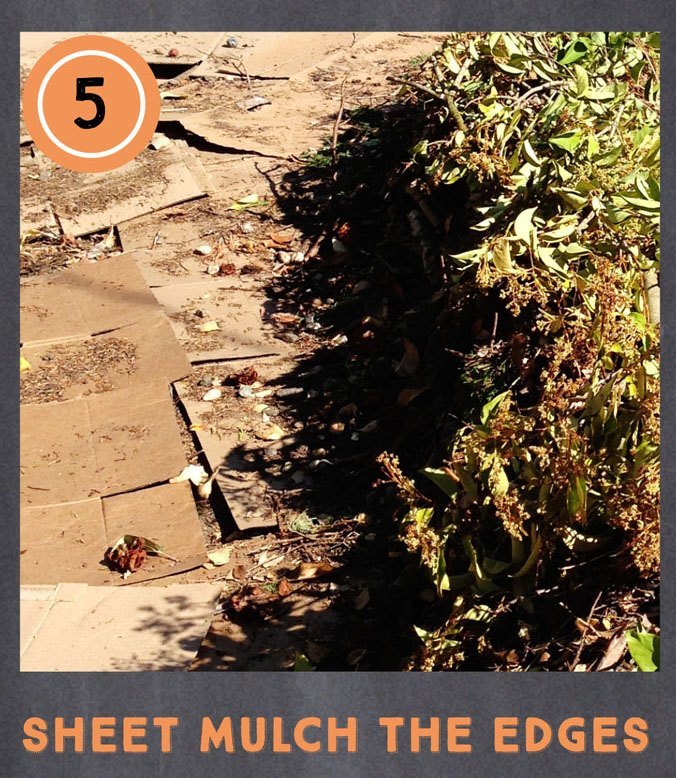 If you’re familiar with sheet mulching — laying down sheets of cardboard to convert your grass or weeds to drought tolerant plantings or food forest — the same idea applies here. place cardboard along either side of the logs — as wide as you plan the hugelkulture bed to be — to block unwanted weed growth. No need to put cardboard under the hugel. It will be deep enough to block any weeds beneath it.
Step 6: Weave in Branches and Twigs
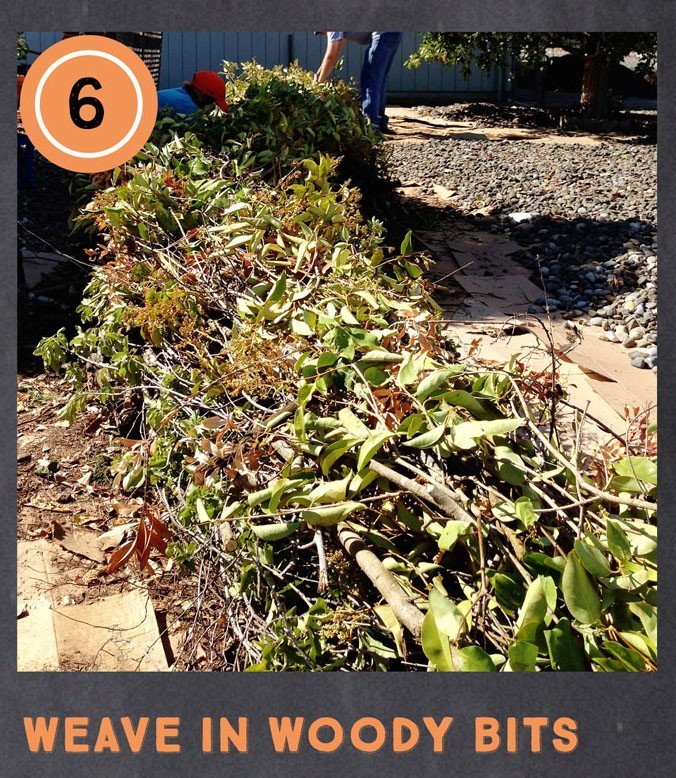 Next, weave twigs and other woody bits on either side of the logs to form a sort of pyramid. It’s important to make the weave pretty tight, to reduce the amount of compost you need to layer on top.
Step 7: Bring on the Soil!
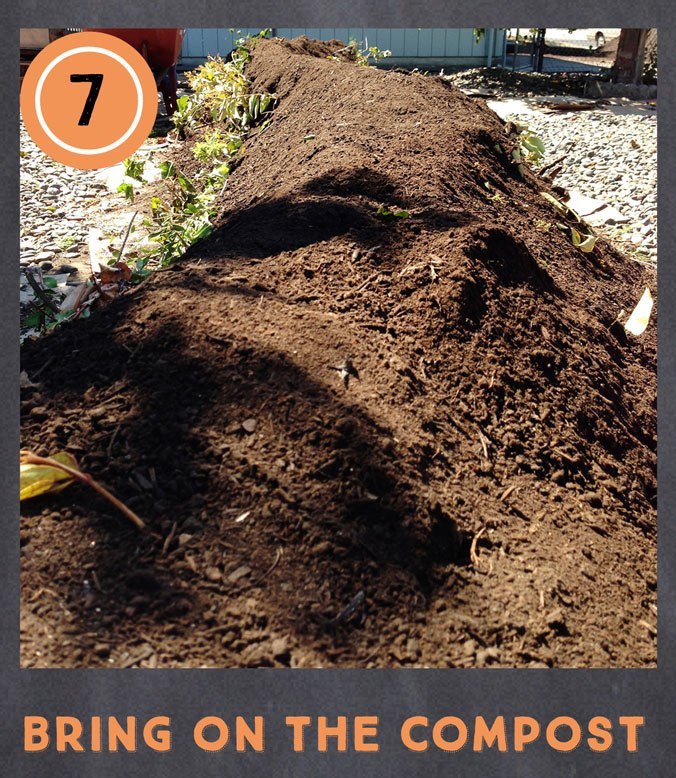 Compost provides a lasting, nutrient rich base for your garden. We use a biodynamic variety, for maximum microbes and organic matter, but check what is available close to you. We used about 10 yards of compost for this full T-shaped hugel project, including the rings around the trees.
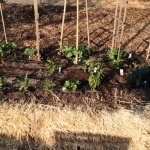
Step 8: Add Plants to Your Hugelkultur Raised Garden Bed
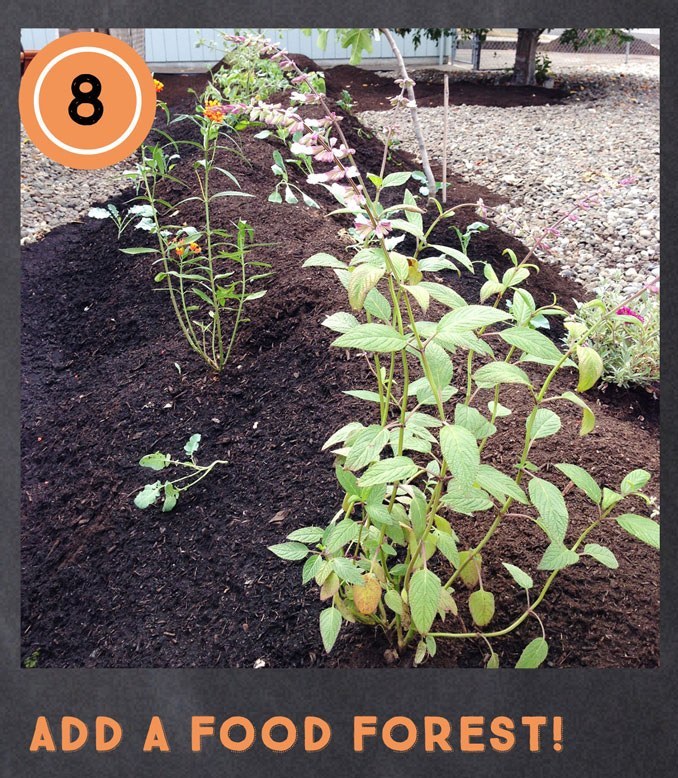 Add plants! Remember your space plan / sketch, path of the sun, path of water, etc. Compost can be pretty nitrogen-rich, so we recommend adding a little potting soil around the roots of your seedlings. Since you’re planting on a vertical surface, shape little swales above each planting to help capture and sink water.
A Note About Water
During the wet months, your hugelkultur bed will trap and retain water. If you’ve shaped it to the slope and contours, it’ll capture, slow, and sink rainwater runoff. During the dry months, we recommend a drip irrigation system on a timer. Less work is more fun.
That’s it! A hugel installation is a fun project for the whole family that will yield a bounty of food for you for years to come.